Wednesday, November 17, 2010

Easy and fun throw pillows

Whoa. This afternoon I sewed 3 pillow covers, totally re-did the straps for the car seat tent, and (hopefully) completed my long-needed project of a fabric drape under the makeshift changing table in the master bath (I used iron-on velcro, which I had to iron to the inside of the wood!). Lots accomplished!

Here are my cute new pillows!


And here's how I made them, using thrifted old throw pillows as inserts. (Again, sorry for the fuzzy iPhone photos, hopefully my camera will be back soon!)

I cut my yard of fabric in half and measured how it would fit over the throw pillow. I made it an "envelope" closure for the pillow cover, so I can take it off to wash if need be.


I ironed one seam as the outside of the envelope pillow cover.


Then I sewed that seam.


Then I forgot to take a bunch of pictures! I put the pillowcase over the pillow inside out, with the stitched seam on the inside. I drew some small dashes in black marker where I wanted the side seam to be. Then I stitched that seam.


I put the pillow back in and drew where I wanted the other seam to be, then sewed that side! Here's the pillow cover inside out after the sewing was done.


I cut some of the excess fabric and decided to make a little flower pin for the outside!

First I stitched a long piece of fabric on one side to gather and ruffle the fabric.

Then I realized that it would be hard to see the flower if it was made in the same fabric.

In comes my trusty old stained Ikea fleece blanket, which I used for my first flower pin.


I cut two circles and stitched them both to the back of the flower.


Here's how it looked. I also sewed a brown button onto the middle of each flower.


Finished products!


Here they are on my couch. The cute blue lumbar pillow was a treat I bought while browsing HomeGoods last week in preparation for my Mom Cave Makeover. It's a "real" pillow with feathers inside! The two red pillows are from Target ($10/pair although I think the real price was $13, long story). I noticed they are going on sale on Black Friday for $7/pair!


I sure can't wait to do this sewing and crafting in my new room!

Tuesday, November 16, 2010

Monday, November 15, 2010

Making a Car Seat Tent/Canopy


I'd seen a car seat tent at our local children's resale store as a new boutique item for about $40! When I saw some links online last week on how to make one yourself, I decided to go for it! Here's how I did it. (Sorry for the confusing directions and limited bad photos, I finally sent my Nikon to be serviced. Yay!)

Normally, you'd just use a yard and a quarter of 2 coordinating patterns of regular cotton fabric, but I decided to use some receiving blankets which we're not using much anymore! They weren't quite long enough to cover the seat, so I had to improvise and use a third one to add some length.

Here are the two blankets I used for the inside and outside of the tent. I put them together on the floor with the correct sides facing in.


I cut off a strip about 4 inches wide and the length of the third blanket.


Then I ironed the rest of the third blanket in half,


and I cut down the fold, to divide the rest of the blanket in half.


I folded the two halves of the brown blanket in half, inside-out, and sewed down the width.


Then I flipped it inside out and found 4 marbles to sew in as weights for the corners of the tent.


Here's where I sewed the marbles into the corners.


I placed the brown half-blankets inside the two full-size blankets and folded in the sides so they wouldn't be sewed down by the machine. I pinned around the blanket and sewed it closed, except for a small portion left to pull it through.


Then I took that leftover strip of brown, and cut it into two 7-inch long pieces. These could have been shorter; they were actually too long. I folded it with the right-side-in and sewed around the two edges, pulling it out the other side. Then I sewed that last seam closed.


And used iron-on velcro strips.


I sewed the strips onto the tent after holding it up to find the right spot, close to the middle. I put them a little too far apart and am going to have to fix this, because it hangs a bit too low. But I thought it turned out pretty cute!


Here's the seat in the stroller at the park this morning, where I did my workout while the little ones played and Mary Clare was in her Faith Formation class at church.


I know those directions were really confusing and could have used some more photos. To make it easier, google "car seat tent" and you can find some better directions when you are using fabric instead of too-small blankets :)

And a safety note: most car seats require the handle to be put back for safety while driving. Also, make sure to watch baby at all times when under the tent! But it's a great alternative to throwing a blanket over the car seat, which never seems to stay put, and could more easily fall on top of the baby. It's also nice for me since my canopy was broken and folding the tent back over the handle makes a nice little canopy!

Wednesday, November 10, 2010

Exercise

I started working out last week. I am doing the Couch to 5K program, using a great app on my iPhone to tell me when to walk and when to run (slow jog!) while I listen to music or talk on the phone.

Now the hard part with this is figuring out how to do it with 4 children who are home all day and a husband who is home and awake only 1-2 hours most days. Cue: Phil & Teds Stroller!

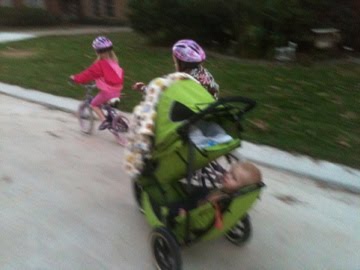
So I've got the baby in the carseat on the front of the stroller with Steven Joseph in the jump seat. The girls ride their own bikes. We can do this to get to the park, and then the kids play on the playground while I jog/walk around the tennis and basketball courts. So far, so good. We've only had a few instances of toddler tantruming because he wanted to ride his bike, or infant fussing because he didn't want to be in the stroller.

Hopefully I'll be able to keep this up for the 9 weeks of the program! Today we drove to the park, which was much easier. I'm hoping to get back to a Zumba class here and there too.

And really, what I do all day is both mental and physical exercise, right? Here are the kids in the car after Sunday Mass. Today I took them on a bunch of errands and remembered again why I should do my shopping at night time. Only problem is I'm too tired to do my shopping at night time!


And this little 7 week-old has been keeping me on my toes too! He's gotten a bit fussy and has been struggling with a sniffly nose the past week and worrying his mama. Hoping he'll be feeling better very soon.


To note a couple other things going on in our little family:

Mary Clare has started to LOVE reading! I am so, so happy that it's finally clicked for her. She goes to bed with a small stack of books each night. A world of knowledge has opened up before her and today was the first time I'd seen her so happy to pick out books at the library! She whizzed through Amelia Bedelia in the car! I'm so proud of my Mairsie Clairsie.

We are working on the virtue of RESPECT for awhile. Both respecting people and respecting things. I've realized just how trashed our house can become (well, I realized that a long time ago) and how often the kids just don't take care of stuff, especially the stuff that isn't theirs! I'm also hoping to do a big toy purge in the next few weeks to prepare for Christmas. So hopefully we'll be living in a much less cluttered and better taken care-of home in the new year! And one with a cute new mama room that I can't wait to put together! Fun times!

Tuesday, November 09, 2010

Mom Cave Inspiration!

My mind has been going a mile a minute, both in thinking about my "mom cave" project and also with Christmas ideas! I was thrilled when my father-in-law called yesterday and offered several days of help to put my room together in December! So that gives me a few weeks to figure things out and do some HomeGoods pricing. My mom, the artist, is also going to help to my shopping and planning!

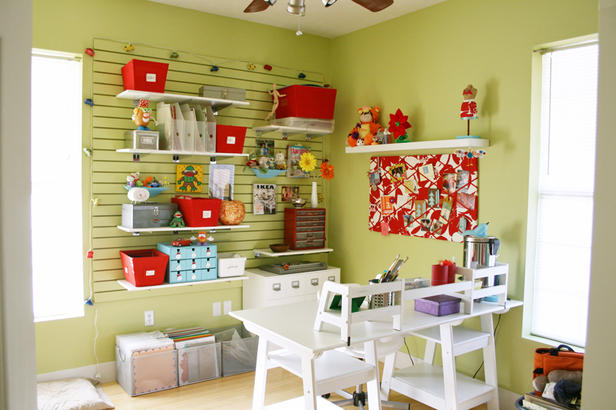
I've been thinking about what colors and room decorations inspire me and make me smile. I think I've decided on turquoise for the walls, with lime and red accents. Here are some different images I've found on the internet to use as inspiration. Many were found through the House of Turquoise blog.

I like the little lime drawers and the colorful yarn!

Amber's craft room via Apartment Therapy

This room is just so sweet!

Alicia Paulson's Studio

Love the red curtain and rainbow ribbons

turquoise craft room on craftser

I like how the green and turquoise go together well here.

Holly Dyment Design

This room made me consider painting green walls, but I think I'll just use the lime as an accent color.

scrapbook room from HGTV

I love the accent colors used and palette shown below this image, although I'm not sure I'd want my walls plain white.

Design*Sponge simply color

and I'm going to have to incorporate some rainbow artwork somewhere in the room. It just makes me smile!

I love this flower gradation!

flower gradation from Design*Sponge

Okay, back to real life. Time for ballet class!
Oh, and if you could spare some prayers...One, for little Thomas who has been congested with a stuffy nose for about 5 days now. And also for my aunt and cousin who could use some prayer this week.
Thank you!

Monday, November 08, 2010

I WON!

Click here to see the announcement. I won the grand prize, $250 at HomeGoods to decorate my "Mom Cave!" SO EXCITED!

Thursday, November 04, 2010

Thankful Thursday

We have a lot to be thankful for...

double chins


bright eyes


morning cuddles


time with friends to remember...


beautiful fall days


to stroll


and bike to the park!

Tuesday, November 02, 2010

Halloween 2010

We spent Halloween night with some of our good friends, having a nice chili dinner and some trick-or-treating with our cast of circus characters! Here are a few photos:

my little baby bear


Mary Clare as an acrobat, Thomas the bear, Ellie as a twirler, and Steven the knight. I'd bought a cute "magician" costume for SJ, who wanted to be a juggler. But when we got there he just wanted to wear his knight costume from All Saints' Day
.


Here's the circus cast, including a jester, animal trainers, a baby lion, acrobat, clown, hula-hooper, princess, knight, monkey, and twirler. The baby ballerina and bear didn't make the photo, and one toddler didn't want to dress up.


Hope you all had a fun Halloween!

Monday, November 01, 2010

All Saints' Day 2010

Happy Feast of All Saints!

We celebrated on Saturday with our homeschool group's annual party out at the farm with a huge crowd this year! I was supposed to lead the saint parade in song, but we were running late and arrived as the parade was halfway around the bend. Oh well, there's always next year!

Here are my sweet saints:

Steven as St. George


Ellie as St. Bernadette


and Mary Clare as St. Bathildis (an obscure queen who she learned about last year in Little Flowers)

My silly girl insisted on wearing her green striped shirt under this beautiful dress! This color-conscious mom can't handle it. I told her to please wear white, to no avail!

Since I was wearing/nursing a baby for most of the party, I didn't get many photos. Most of the booths/games were the same as in previous years, but one new "booth" this year was the beautiful All Souls Chapel. Families brought photos of deceased loved ones and everyone would go in and pray for a few minutes. Isn't it beautiful?


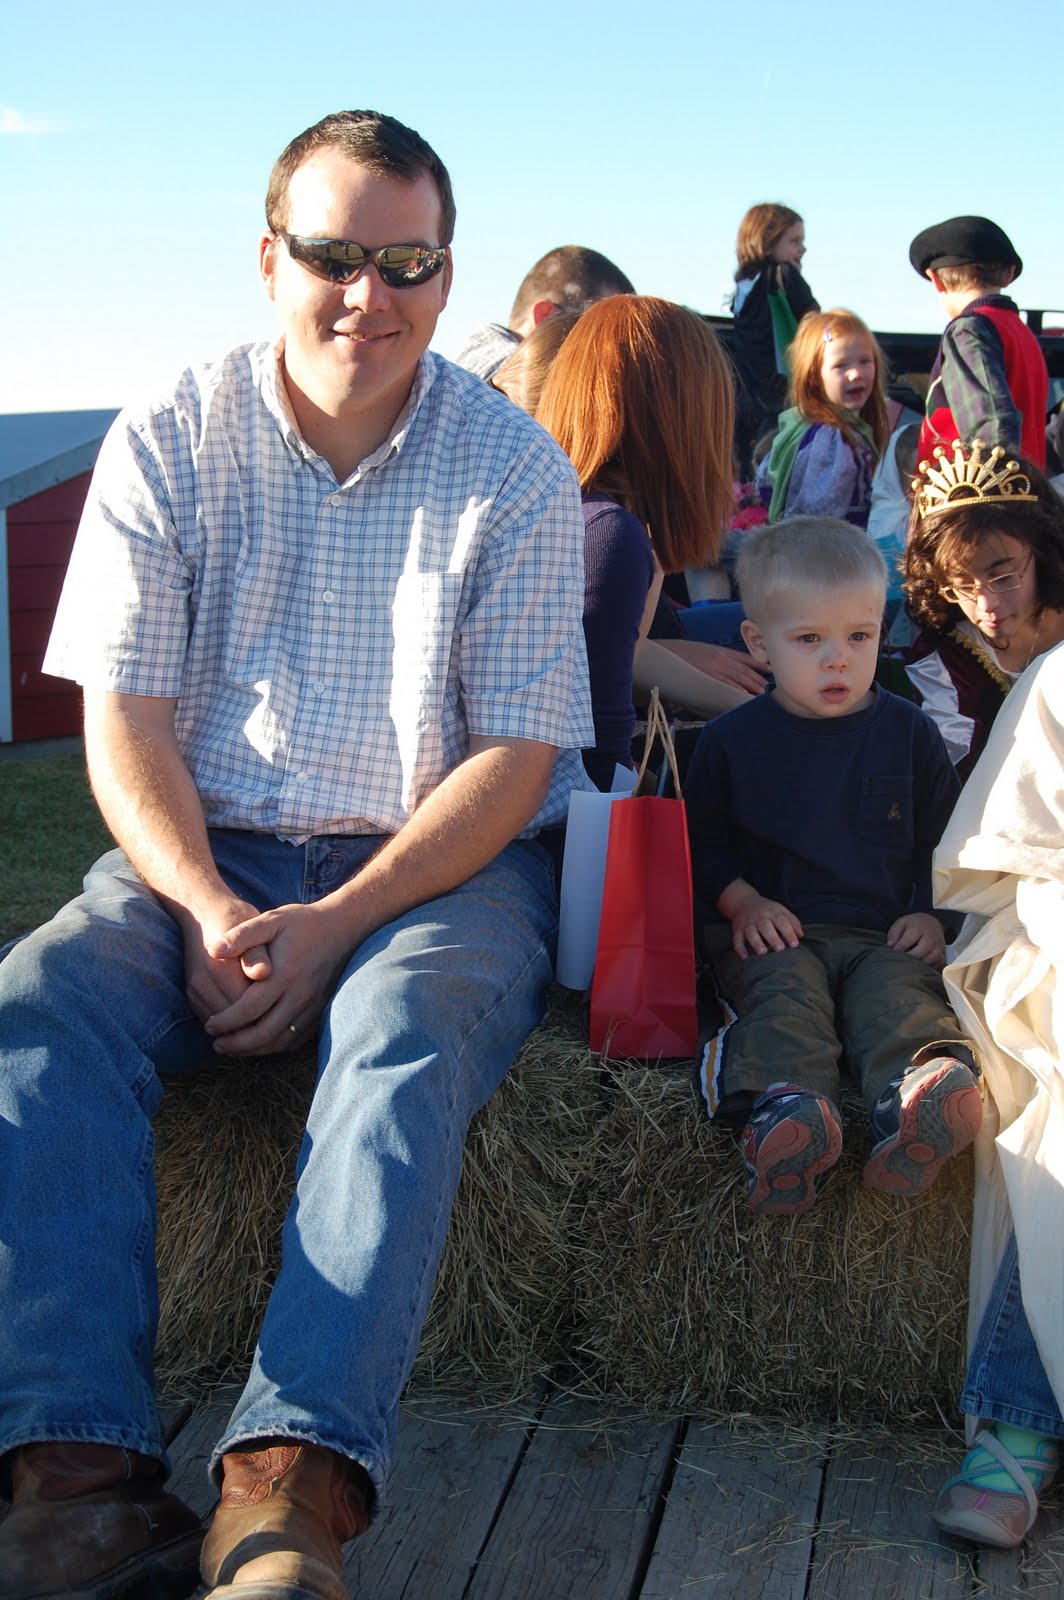
I did get a couple shots of one of the favorite activities, the hayride!


We had a fun evening at the farm! All you holy men and women, pray for us!
Related Posts with Thumbnails
 
site design by designer blogs